Practical tips
Keep the content, evidence and design together in readable files. A few repeatable habits can make proposals, internal documents and teaching materials easier to create and review.
Review the changes with Git
Section titled “Review the changes with Git”Start a revision review with the source diff. Changes to a paragraph, a CSV value or a diagram definition are easier to discuss when you can see what changed and why. Record the review decision in a commit message or your team’s review notes so the next revision can build on it, rather than reconstructing the same discussion.
Compare the diff with the output
Section titled “Compare the diff with the output”This is the actual VS Code Source Control view of a fictional two-slide document. One line changes from “Review the result together” to “Review with two readers”; page 2 on the right shows the revised bullet. Git belongs to VS Code’s workflow; this is not a WworPoint-specific Git integration.
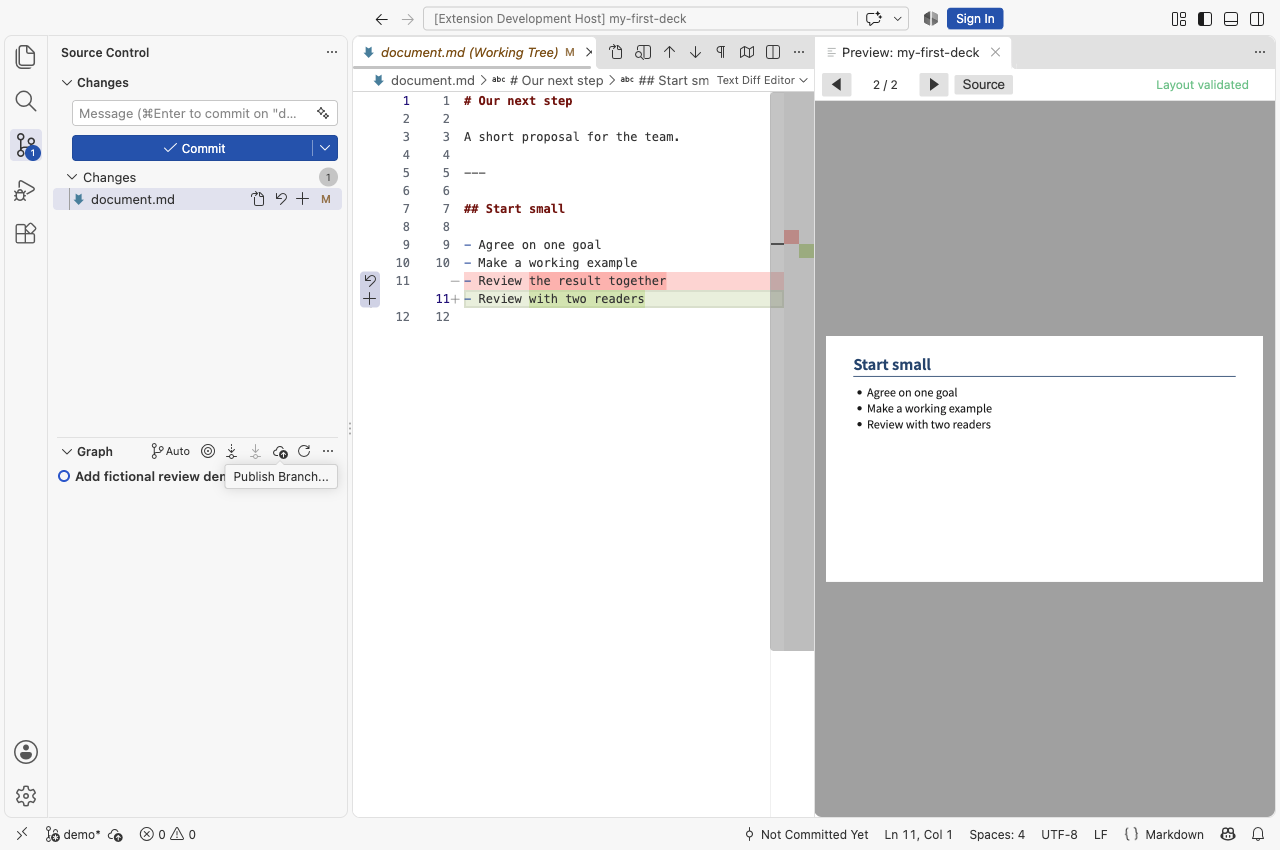
Record a baseline → edit and save one line → inspect the diff → check Preview and Validate. The screenshot uses an isolated development host and synthetic local history. Select it to enlarge.
A practical review loop:
- Save the edited files and inspect their diff in your Git tool. In VS Code, select a changed file in Source Control to compare it with the recorded version.
- Follow changed data and visual definitions to the affected pages. For example, a value in a CSV may change both a table and a chart.
- Inspect those pages in Preview, review the rendered charts, then Validate and Export after relevant changes. Check the final PDF before sharing it.
A small source diff helps you focus the review; it does not prove that other output is unchanged. Shared CSS, data, includes or themes can affect several pages, so widen the review to their actual impact. Git is optional for WworPoint itself. Its VS Code features require Git to be installed; see the official Source Control guide.
See a real page and its source · Try a revision during a meeting
Keep your own project templates in Git
Section titled “Keep your own project templates in Git”Store a clean starting project with the headings, local assets, example data and styles you use repeatedly. Copy that project for a product or customer proposal, replace the placeholders, and spend more attention on the customer’s situation and the decision you want to support.
- Prepare a template using WworPoint: Init. Keep the source document,
design/,data/,assets/and.wworpoint/project.jsontogether, with the folders your project actually uses. - Copy the reviewed source files to a new local folder. Leave behind
.git/, generated/cache folders anddist/. If you use Git, initialize a separate repository and record this clean starting point. Then update the project name in.wworpoint/project.jsonand replace the example content and data. - Review the new proposal’s facts and design, save the files, then Preview, Validate and Export. Keep improvements to the reusable template separate from customer-specific edits.
Use fictional placeholders in the template and check the diff before committing. Keep client-confidential material and secrets out of a shared template repository.
For internal software specifications, reuse section headings, terminology, requirements tables and diagram patterns. A common project structure and styling can reduce repeated formatting work and make designs easier to compare. The built-in theme supplies a starting style; editing the project’s CSS is optional.
This is a file-copy workflow available today. A project template includes content and structure; a theme supplies styling. The steps do not depend on a theme-library GUI or a downloadable theme catalog.
Make human–AI collaboration simpler
Section titled “Make human–AI collaboration simpler”When a project template already defines the design and layout, your AI requests can focus on drafting and revising text and data. You do not need to rebuild the formatting from scratch each time, making document creation with external AI tools such as Claude Sonnet more approachable.
Use your familiar external AI tool, then review and apply the source files yourself. Adjust CSS when you want deeper design changes, and have people check the content and exported result before sharing.
Explore the proposal and its source files · Shared example CSS and settings
See the finished templates
Section titled “See the finished templates”The handout and reference guide have two actual PDF pages each; the design specification has three. Start by changing the questions/card data, glossary, or requirements/Mermaid flow. All content is illustrative; these are not validated textbooks or implemented specifications.
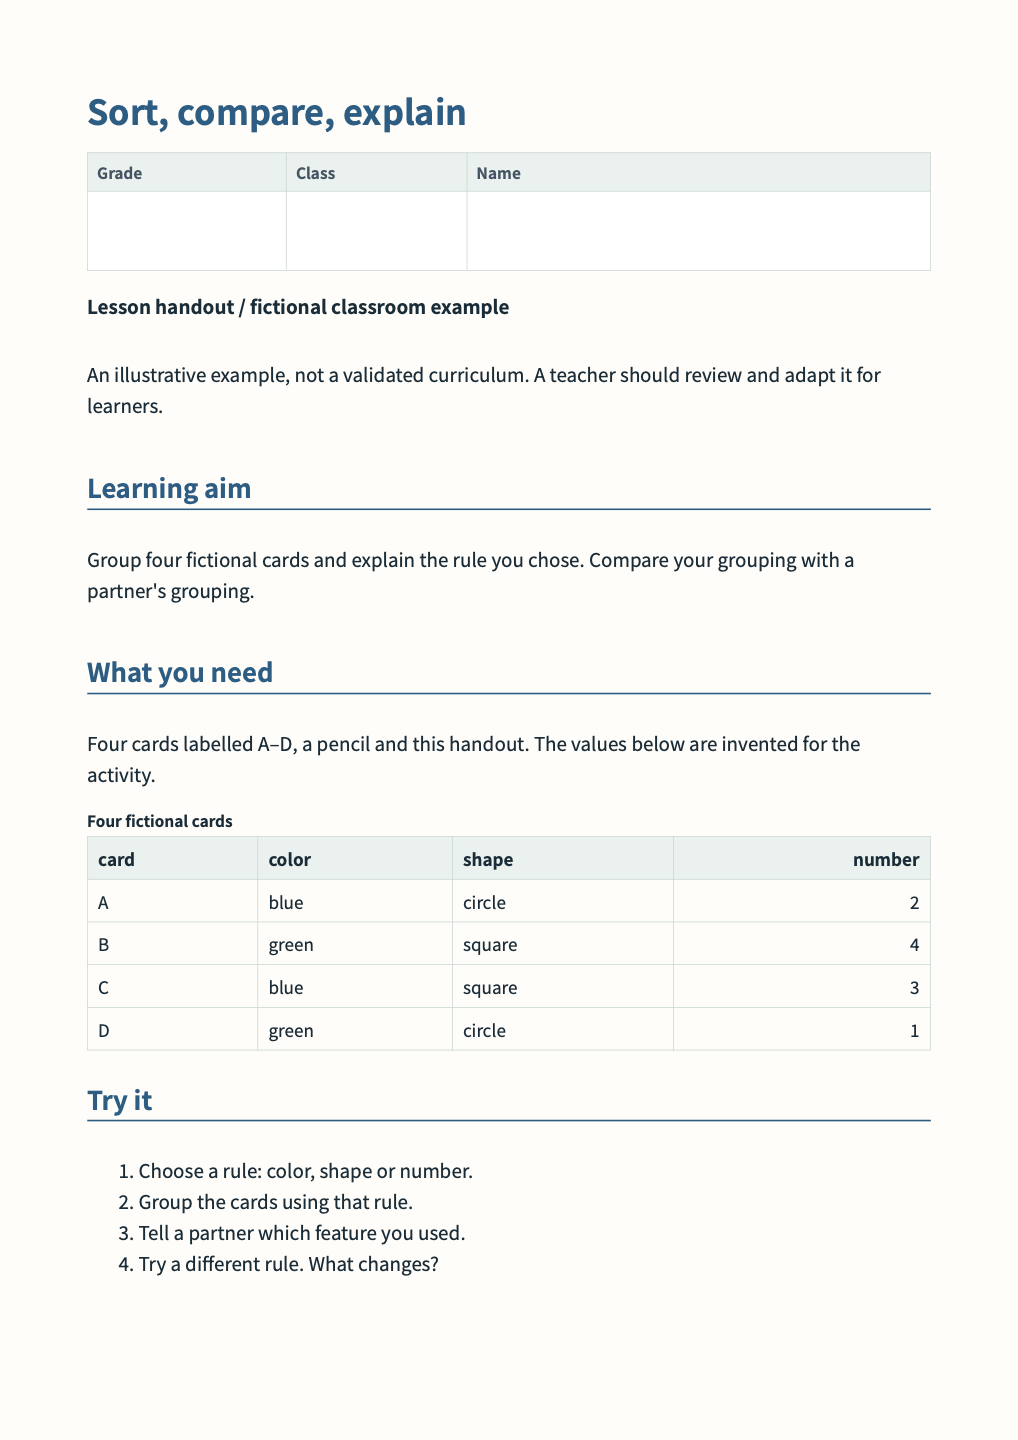
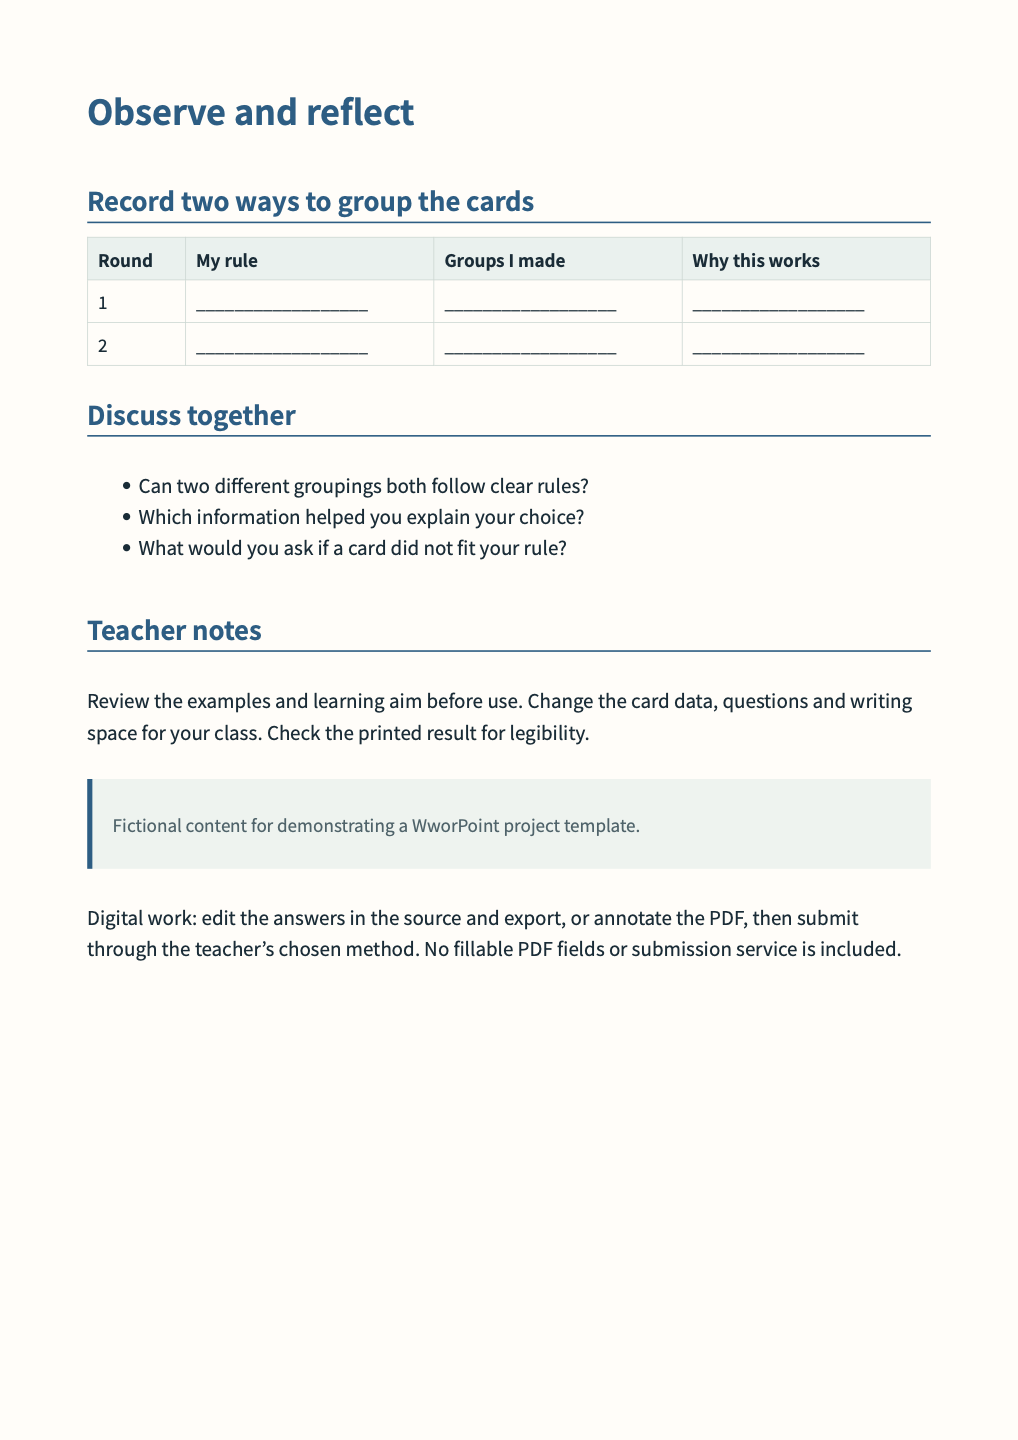
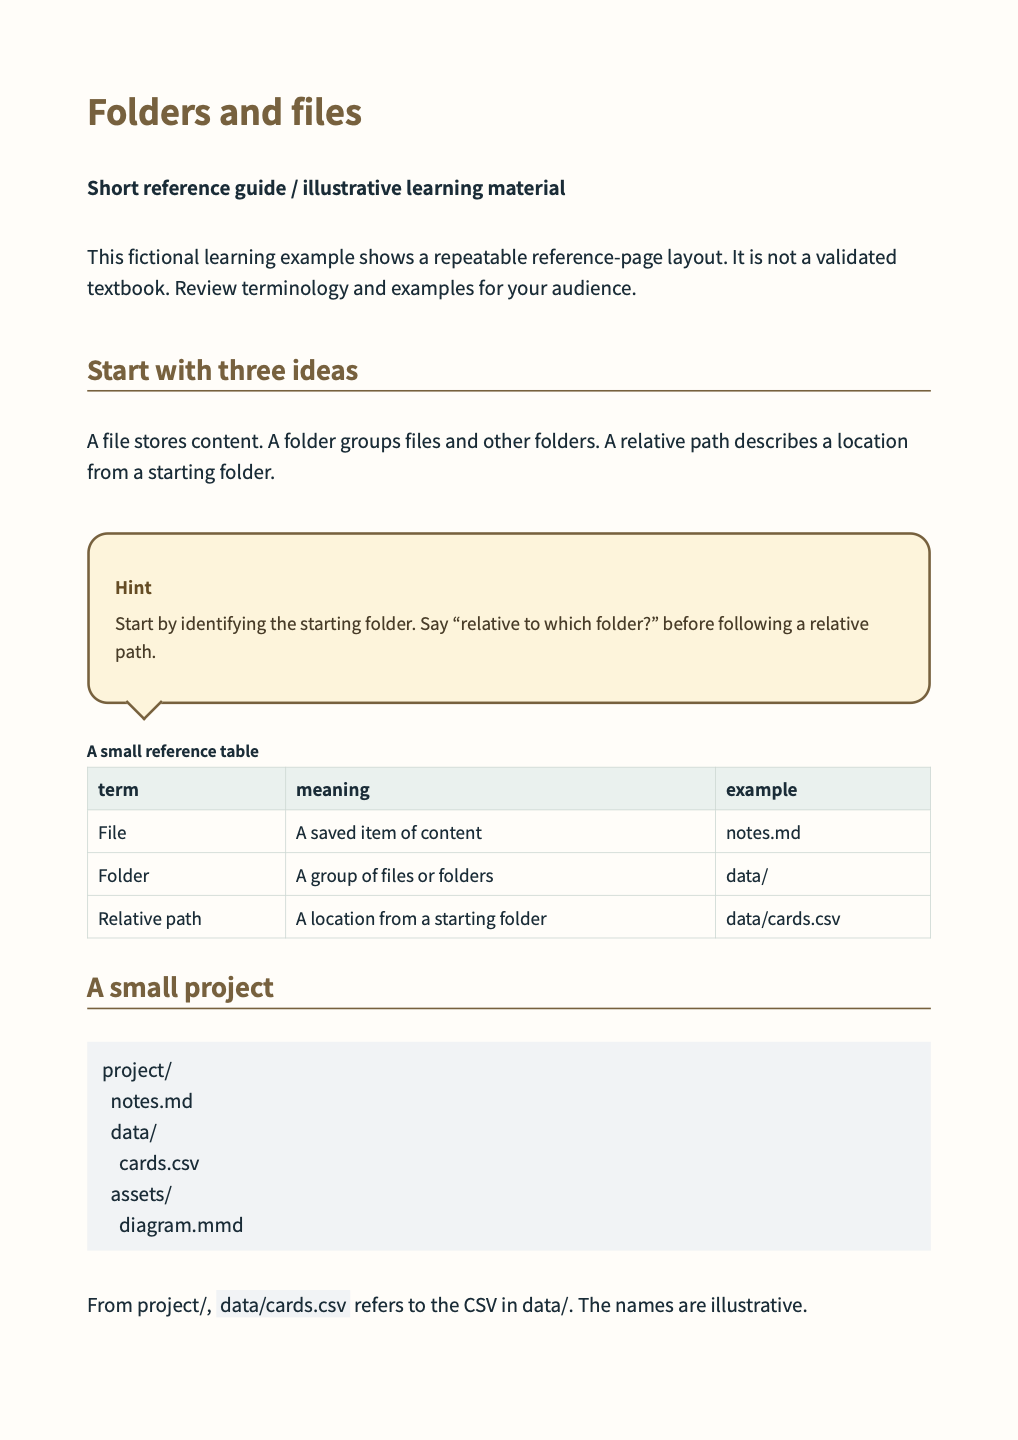
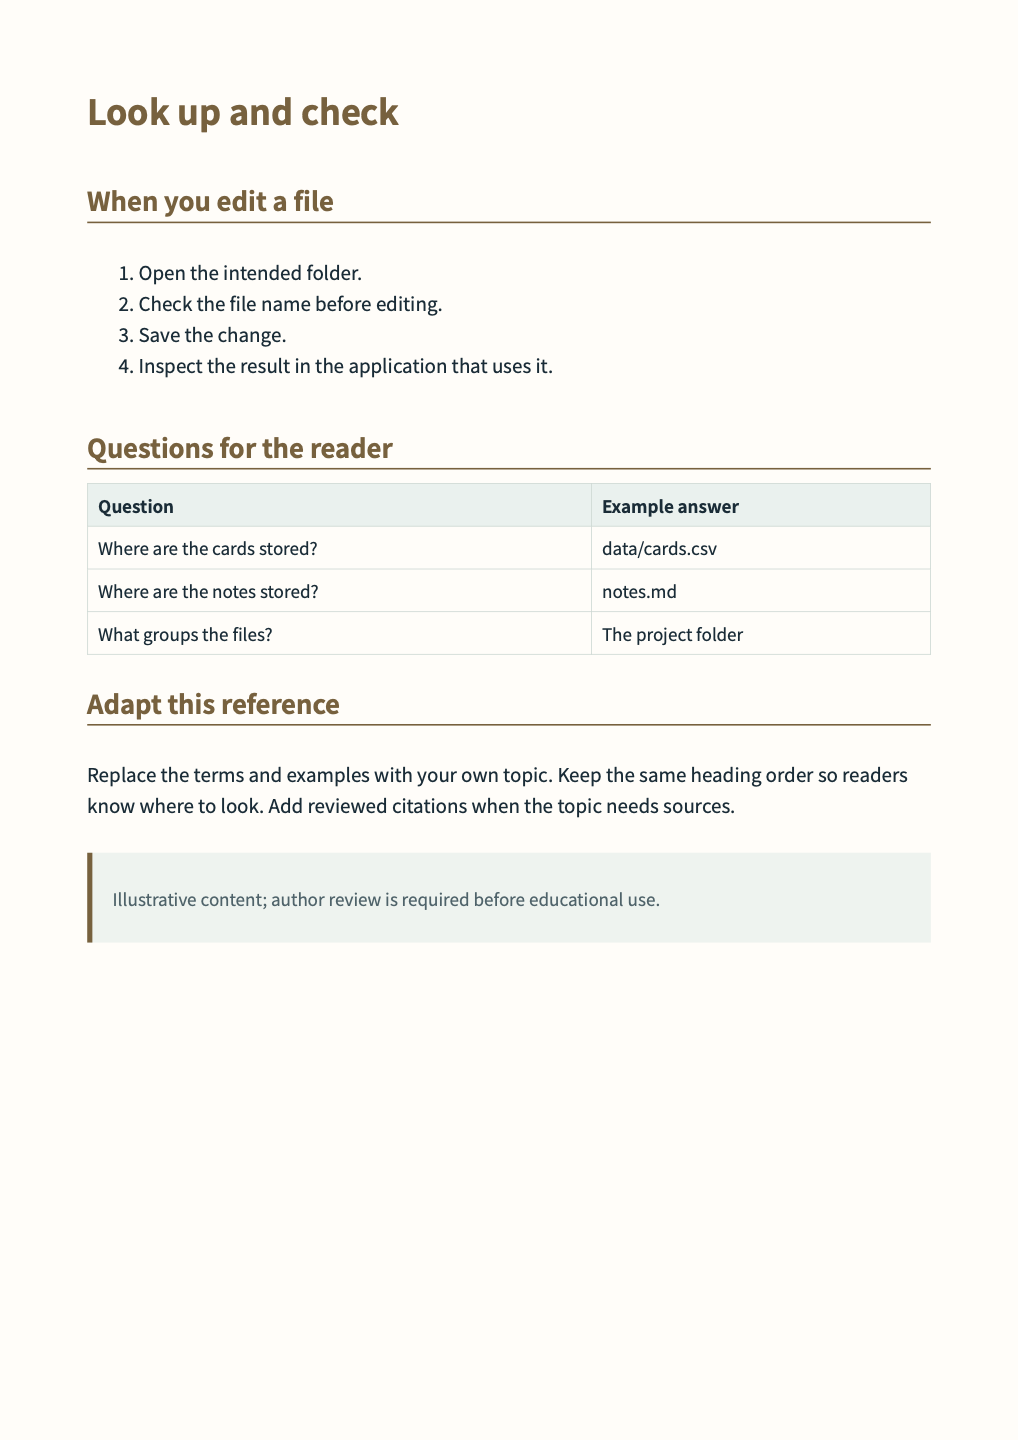
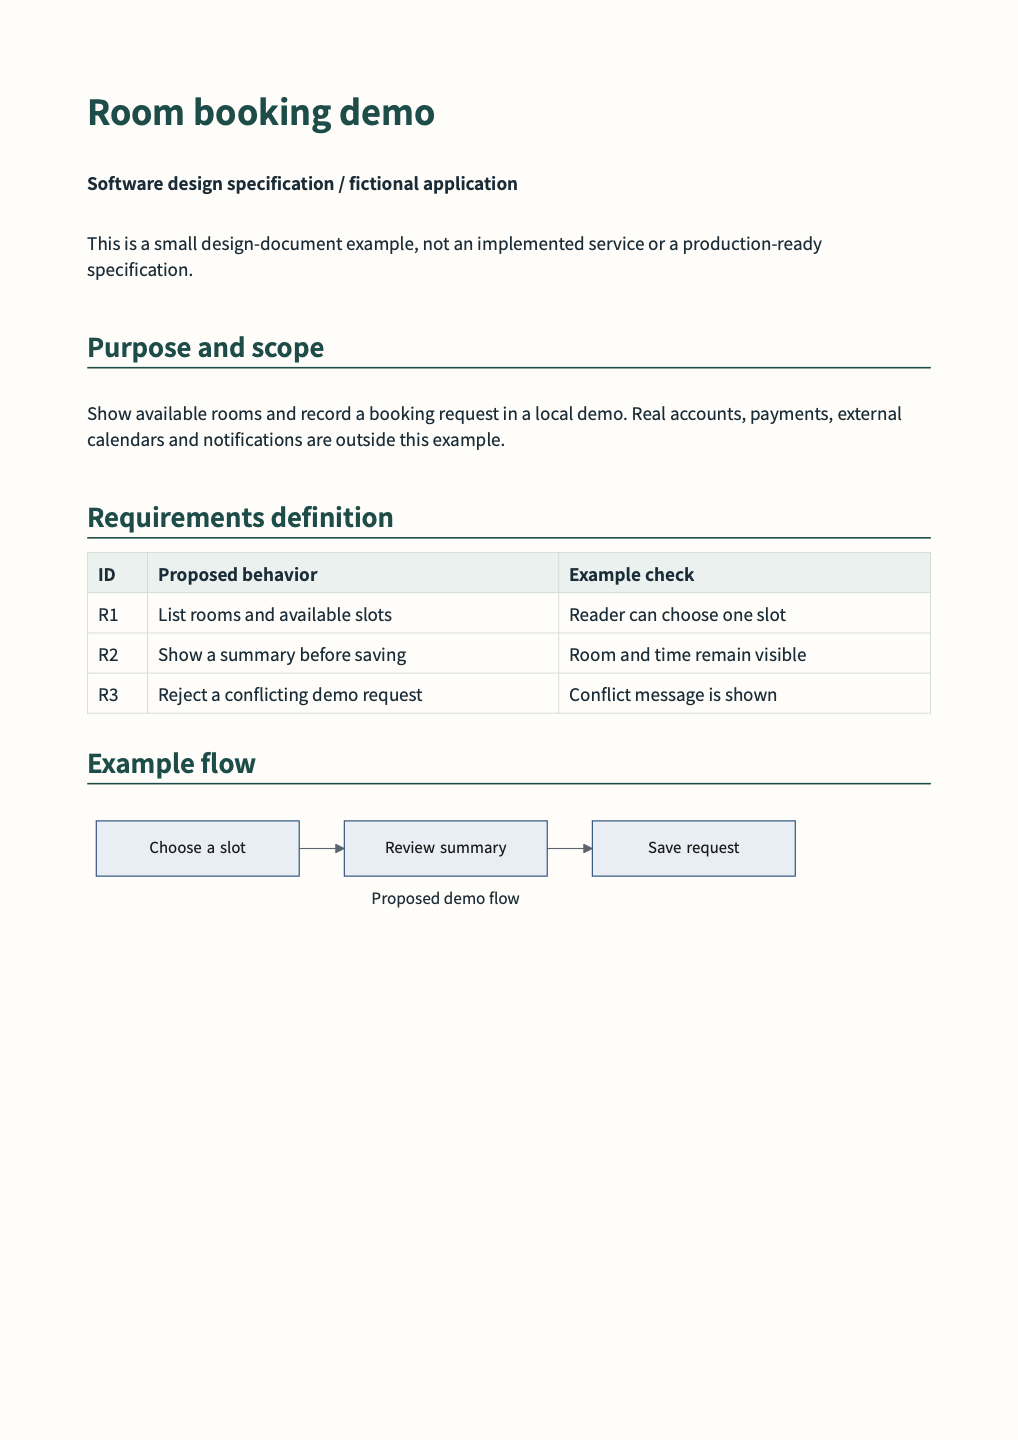
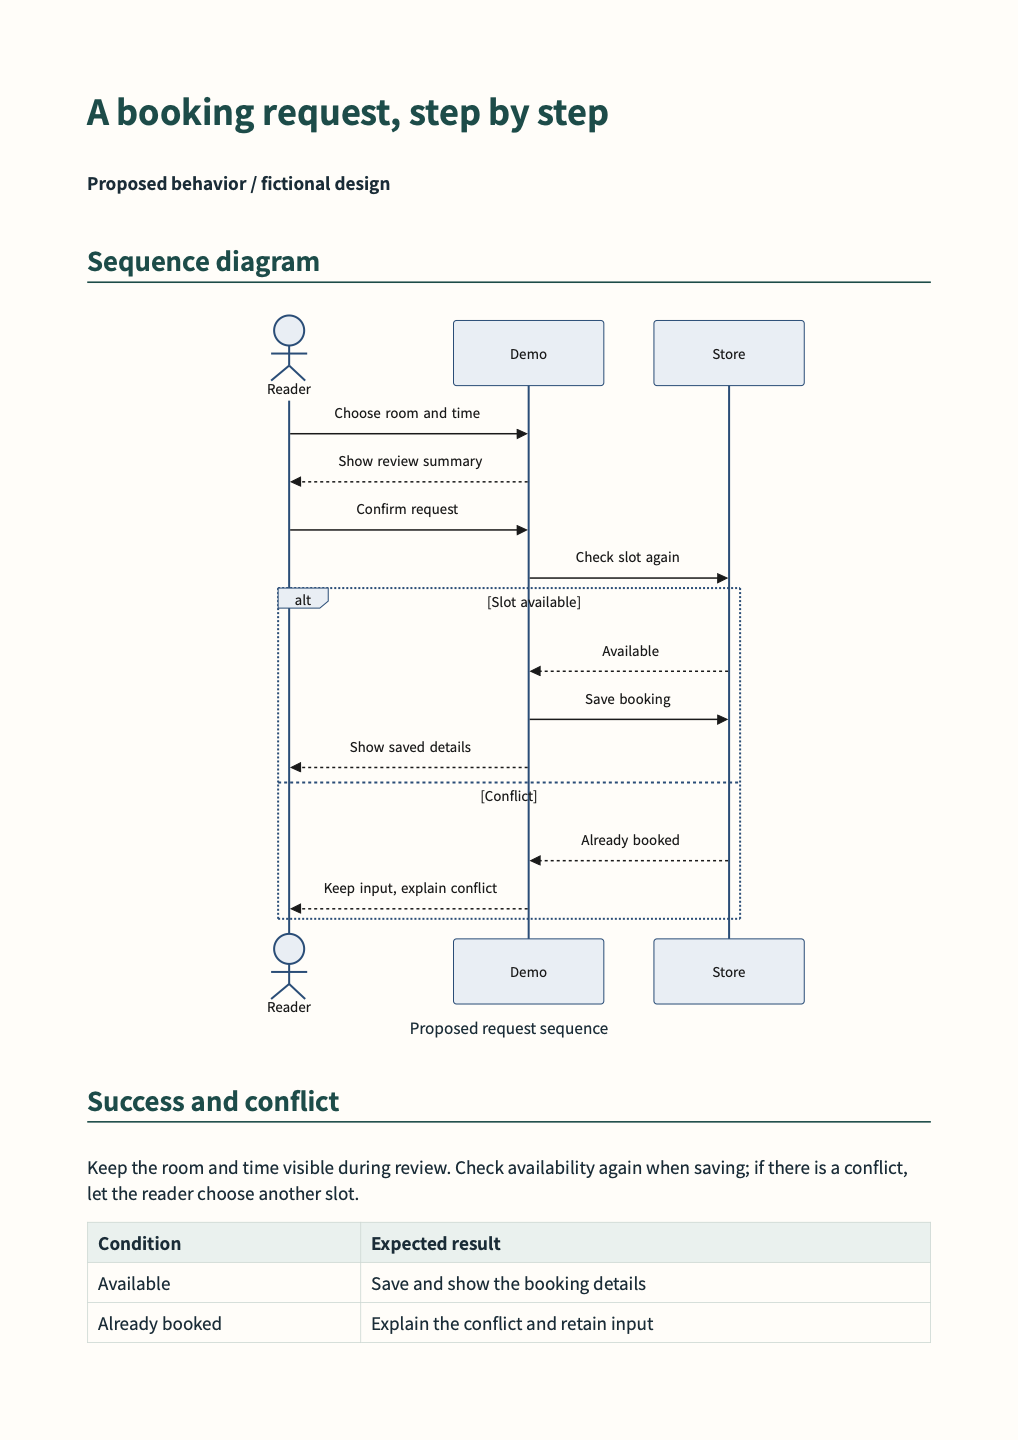
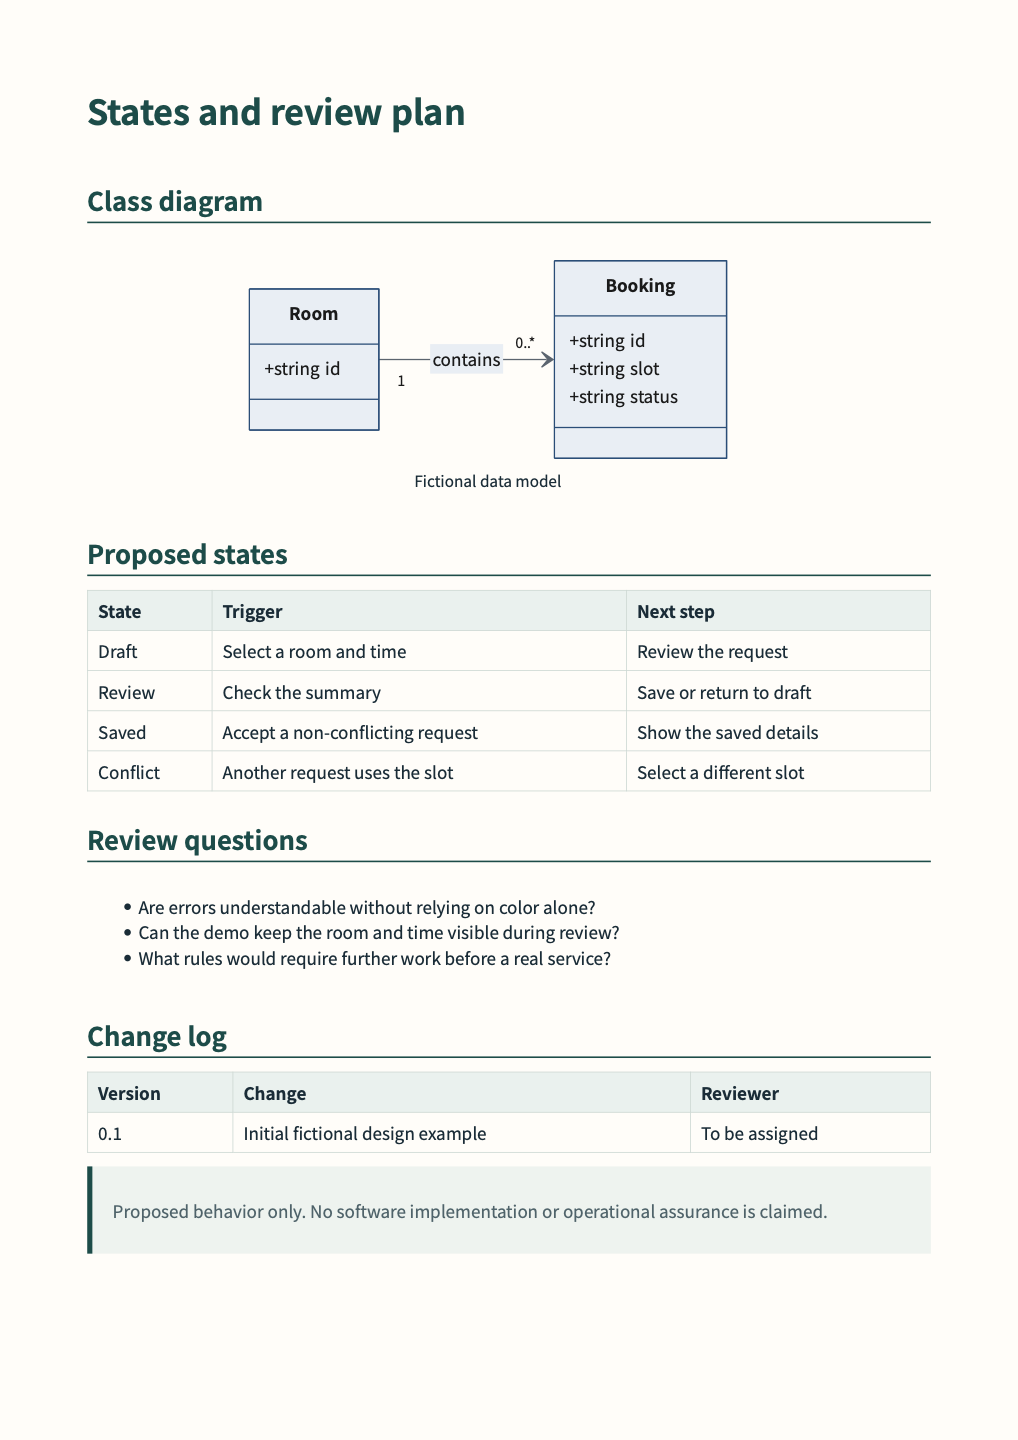
View every page, PDF, HTML and source ZIP. Custom sample reuse terms remain under review.
Reuse a clear structure for education and research
Section titled “Reuse a clear structure for education and research”Use a common source structure for handouts, teaching materials and research reference notes: learning aim or research question, explanation, evidence, figures, references and a short recap. Reusing headings and styles lets you spend more time on the explanation while keeping the materials familiar and readable.
For each new topic, copy the starting project, update the text and local data, and check the figures against their sources. Keep citations beside the claims they support and preserve the reuse terms for images and fonts. Review facts, reading order, labels, contrast and the exported document for your intended audience; use human judgment alongside layout validation.
Wide tables need not be squeezed into a portrait page. The five-page A4 example puts a landscape comparison appendix after four portrait pages in one PDF. Its HTML export is a continuous reading layout.
A simple routine to keep
Section titled “A simple routine to keep”Copy a good starting point → edit and save the sources → review the diff and affected output → validate → export.
Start with the VS Code beginner guide and authoring manual. If you later want terminal workflows or automation, the CLI guide is a separate, optional path.