Your first document in VS Code
Beta software is supplied separately to invited testers. Save your supplied VSIX on your computer before starting. Beta access also includes an example instruction for the Claude Code app.
Make a two-slide presentation and export a PDF, entirely inside VS Code. First install the extension. This guide needs no terminal, npm or CLI commands.
The screenshots are actual screens from the current test extension in an isolated VS Code profile. Only a fictional local demo is shown. The development-host label identifies the capture environment.
Screenshots consistently use VS Code’s Light Modern theme, regardless of this site’s theme.
Select a screenshot to view it at full size.
1. Open a folder for your document
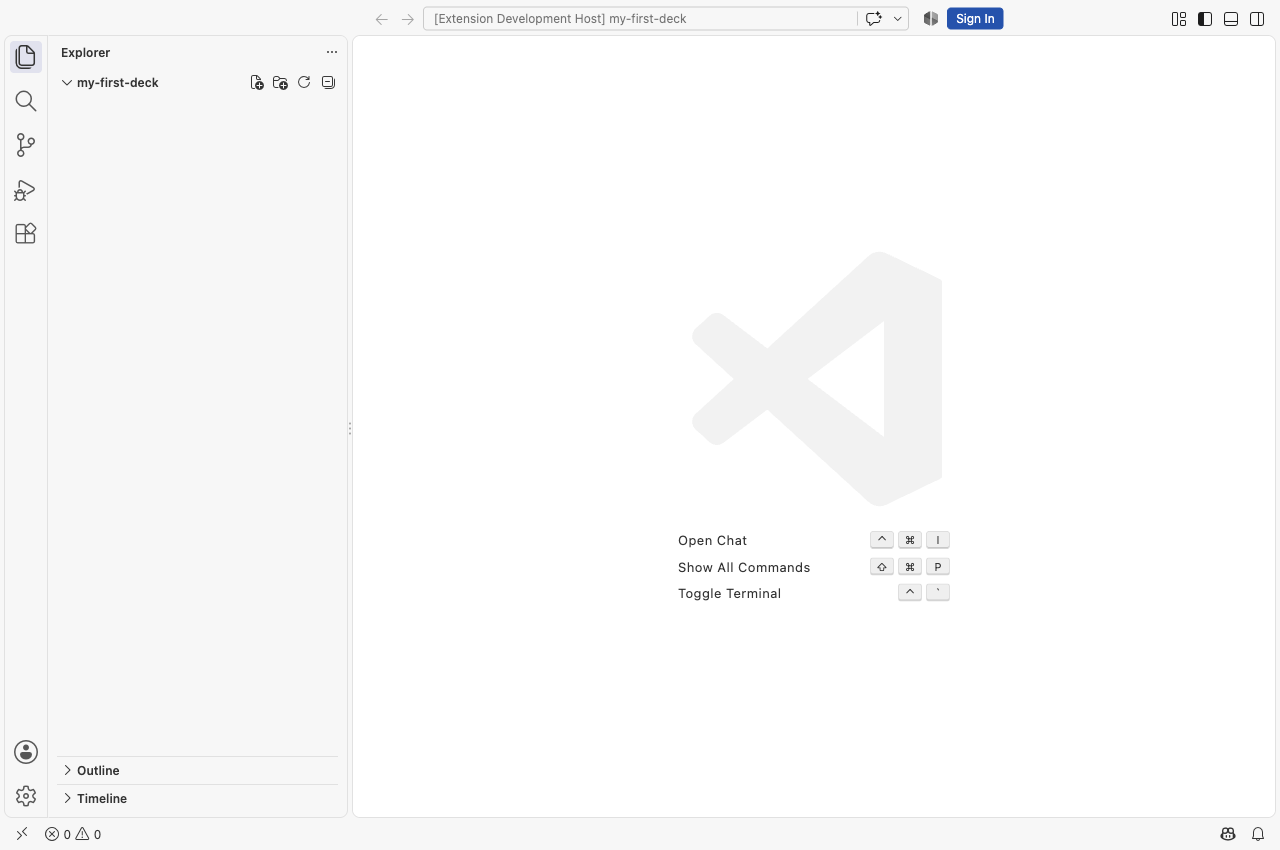
Section titled “1. Open a folder for your document”Create an empty folder named my-first-deck on your computer. In VS Code, choose File → Open Folder… and select it. The Explorer on the left should show that folder.
Use your own empty folder for this exercise. If VS Code asks whether you trust its authors, trust it only after checking that it is the folder you created. Trusted mode is required for layout validation and export. Never grant trust to unfamiliar files just to continue this guide.
2. Find the WworPoint commands
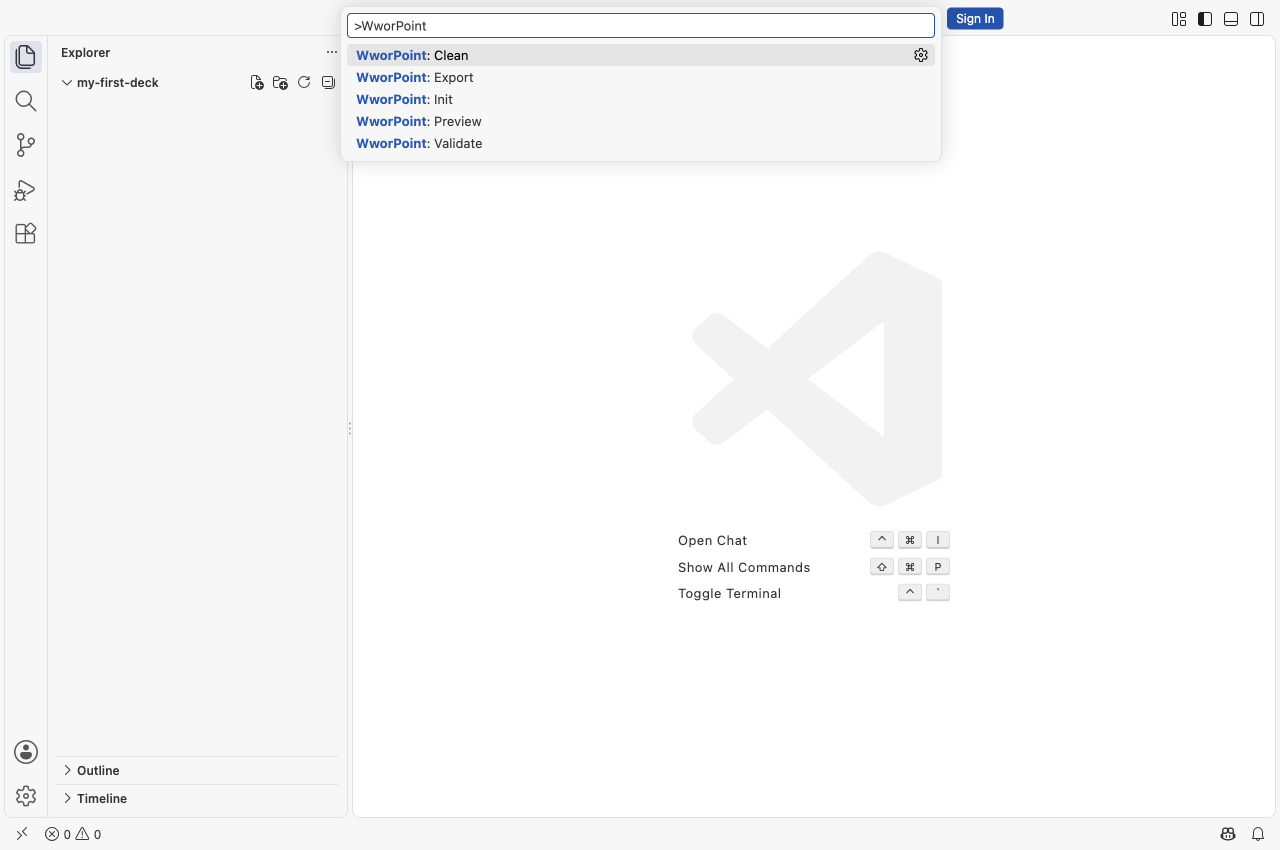
Section titled “2. Find the WworPoint commands”Choose View → Command Palette…. On macOS, use the screen’s top menu; on Windows, use VS Code’s top menu. Or press Shift + Command + P (macOS) / Ctrl + Shift + P (Windows/Linux).
Type WworPoint into the search box. Select the command you need and press Enter. Repeat this pattern for Init, Preview, Validate and Export below.
3. Initialize the folder
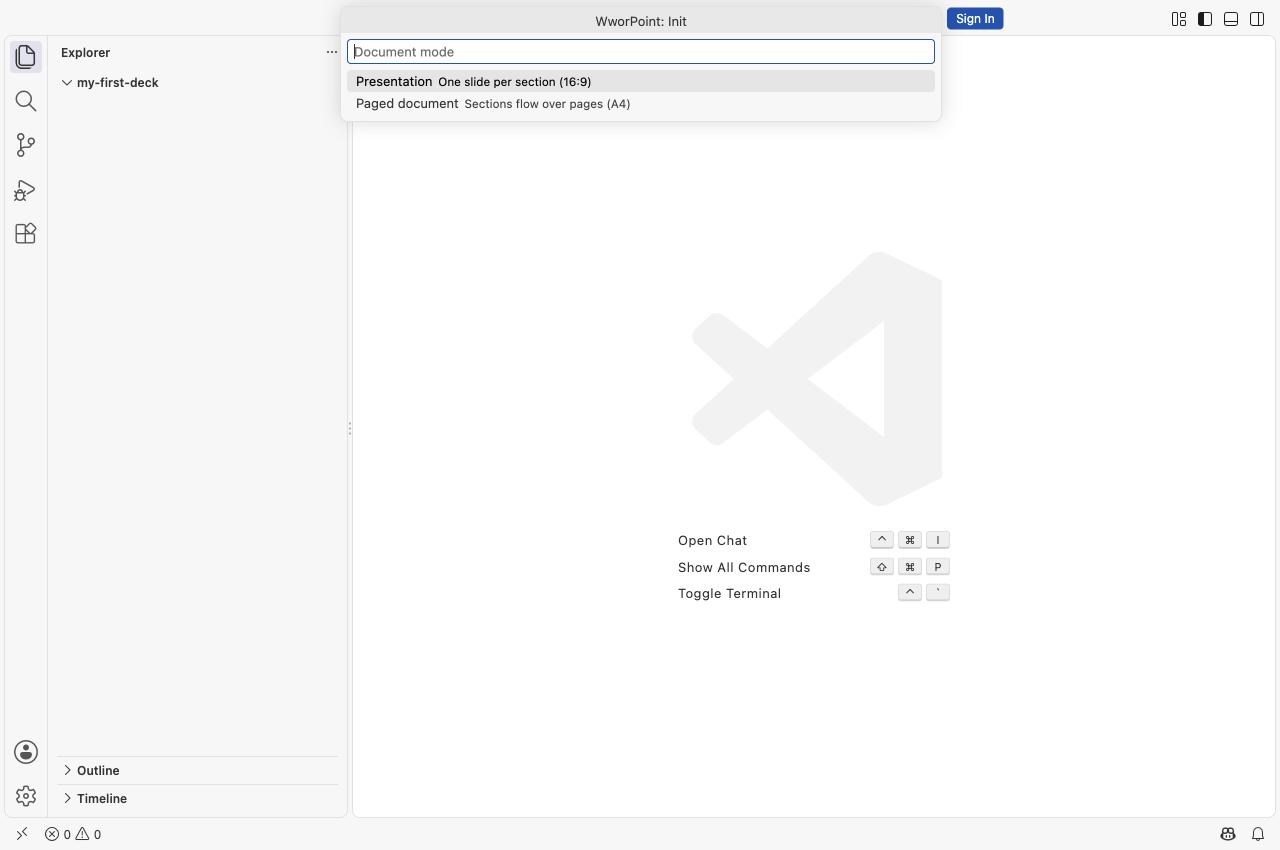
Section titled “3. Initialize the folder”Run WworPoint: Init, then select Presentation for 16:9 slides. Paged document creates an A4 document instead.
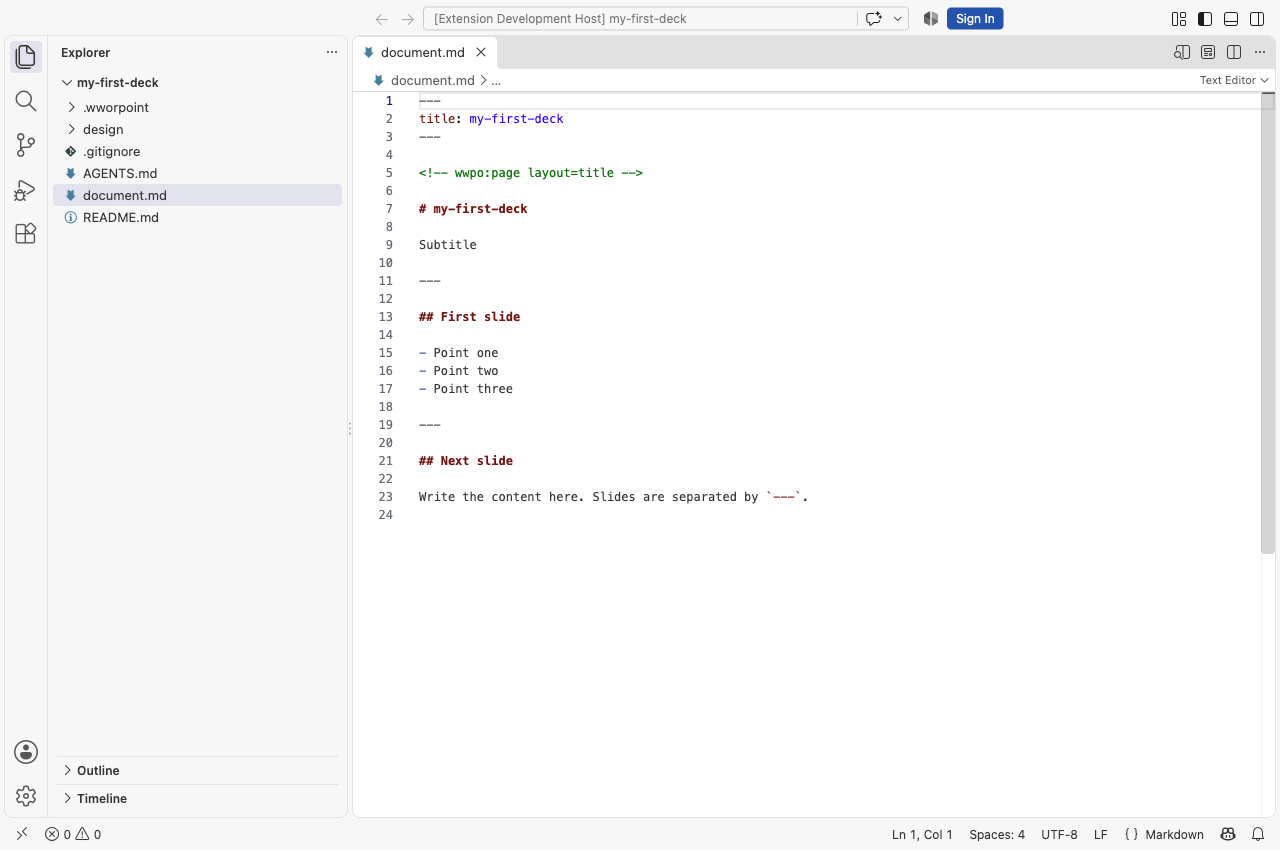
The Explorer now contains document.md, design/theme.css, .wworpoint/project.json and an agent guide (AGENTS.md), plus README and ignore files. Init never overwrites existing files; running it again on an initialized project leaves it unchanged.
The built-in business theme is already selected. You can finish this guide without writing CSS. Later, you can customize the project’s own design/theme.css and review the result in Preview.
4. Write and save two slides
Section titled “4. Write and save two slides”Click document.md in the Explorer and replace its contents with this small example:
# Our next step
A short proposal for the team.
---
## Start small
- Agree on one goal- Make a working example- Review the result together
The --- line starts the next slide. Choose File → Save, or press Command + S (macOS) / Ctrl + S (Windows/Linux).
5. Preview beside the source
Section titled “5. Preview beside the source”Run WworPoint: Preview. The preview opens beside the text editor. Use its page arrows to inspect both slides. Double-click an element, or use Source, to return to its Markdown.
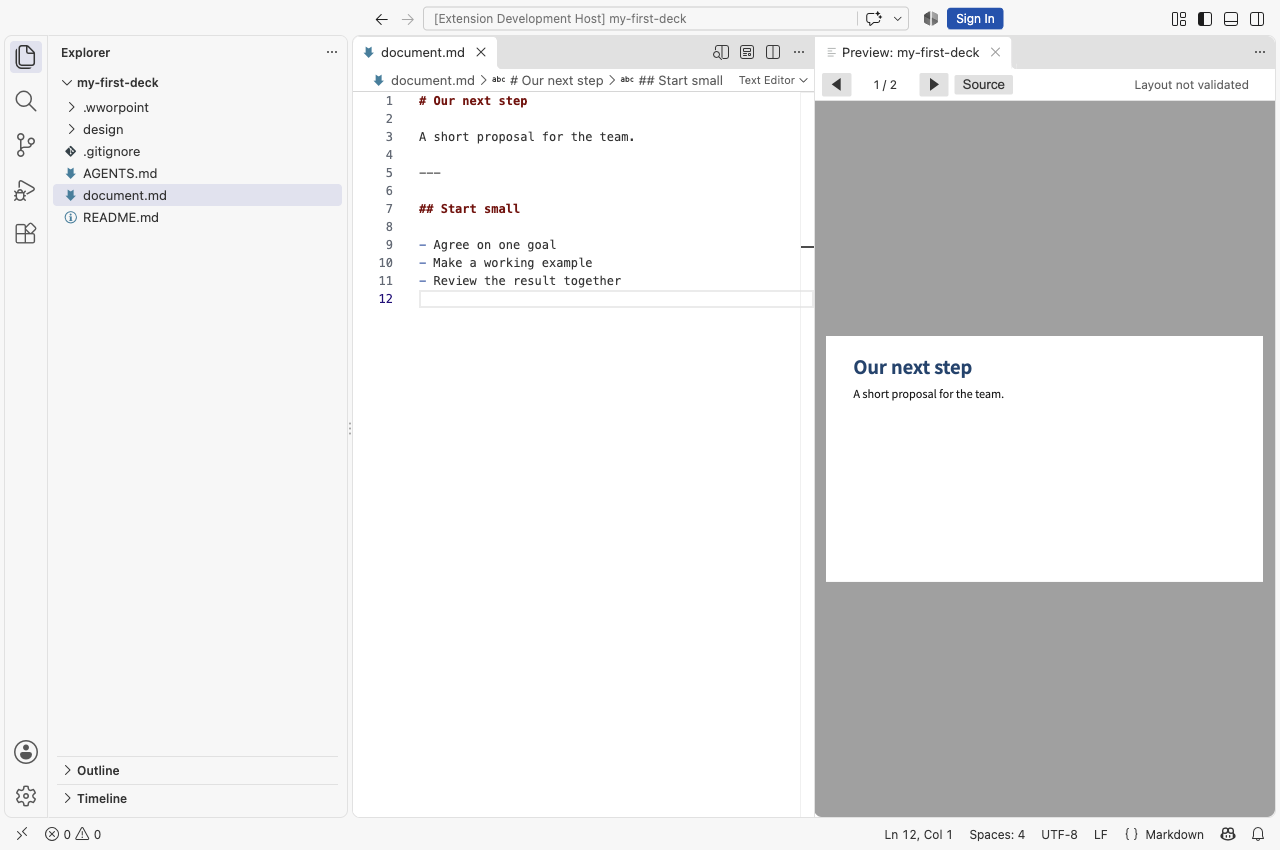
The extension preview follows unsaved edits. On the first preview, Layout not validated means no layout check has run. Validation and export use saved files, so save them in the next step.
6. Save, then validate
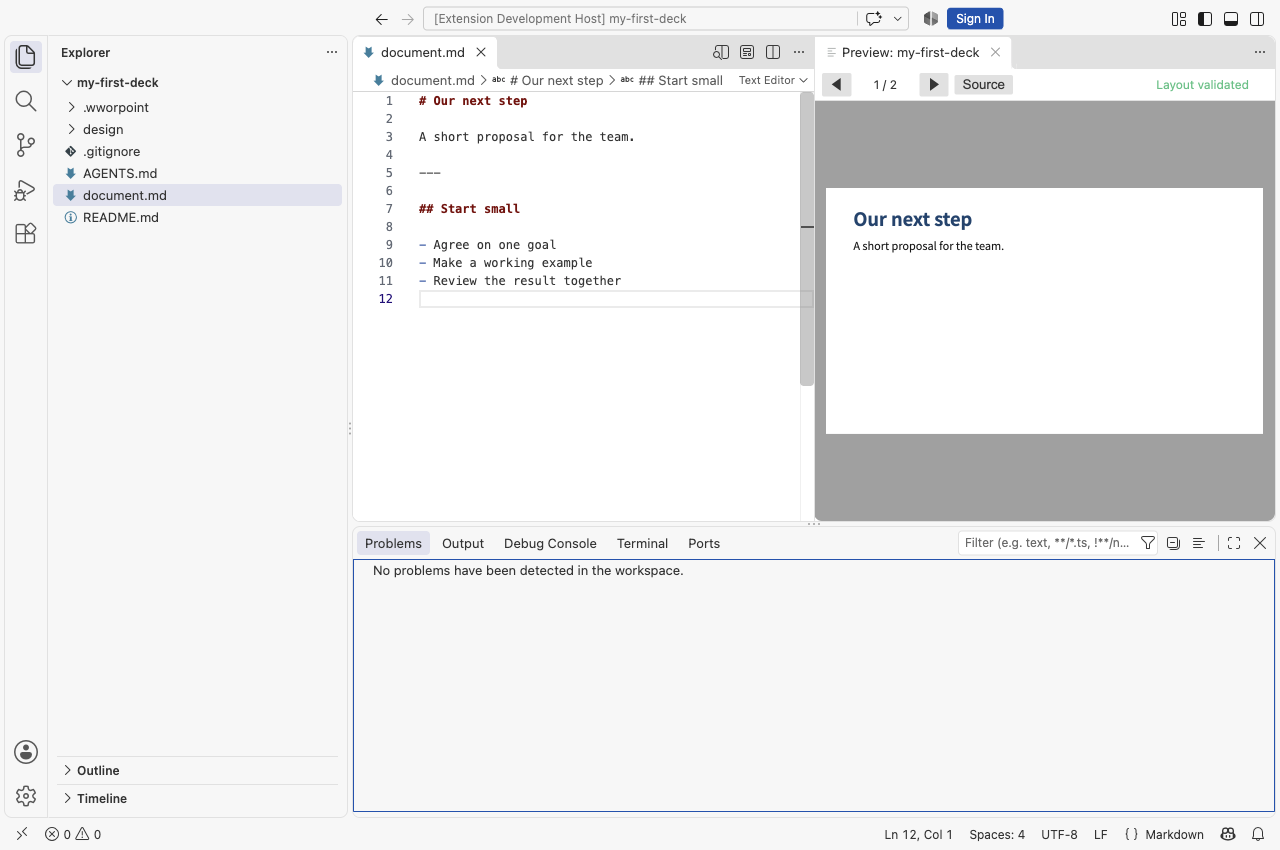
Section titled “6. Save, then validate”Save all changed files with File → Save All, then run WworPoint: Validate. Validation reads the saved files and checks their layout in the local export browser.
Open View → Problems to review findings. Fix errors and review warnings, including page numbers where supplied. Run Validate again after saving changes. Layout validated indicates that the preview matches the last layout check; it does not guarantee factual accuracy or design quality.
7. Export a PDF
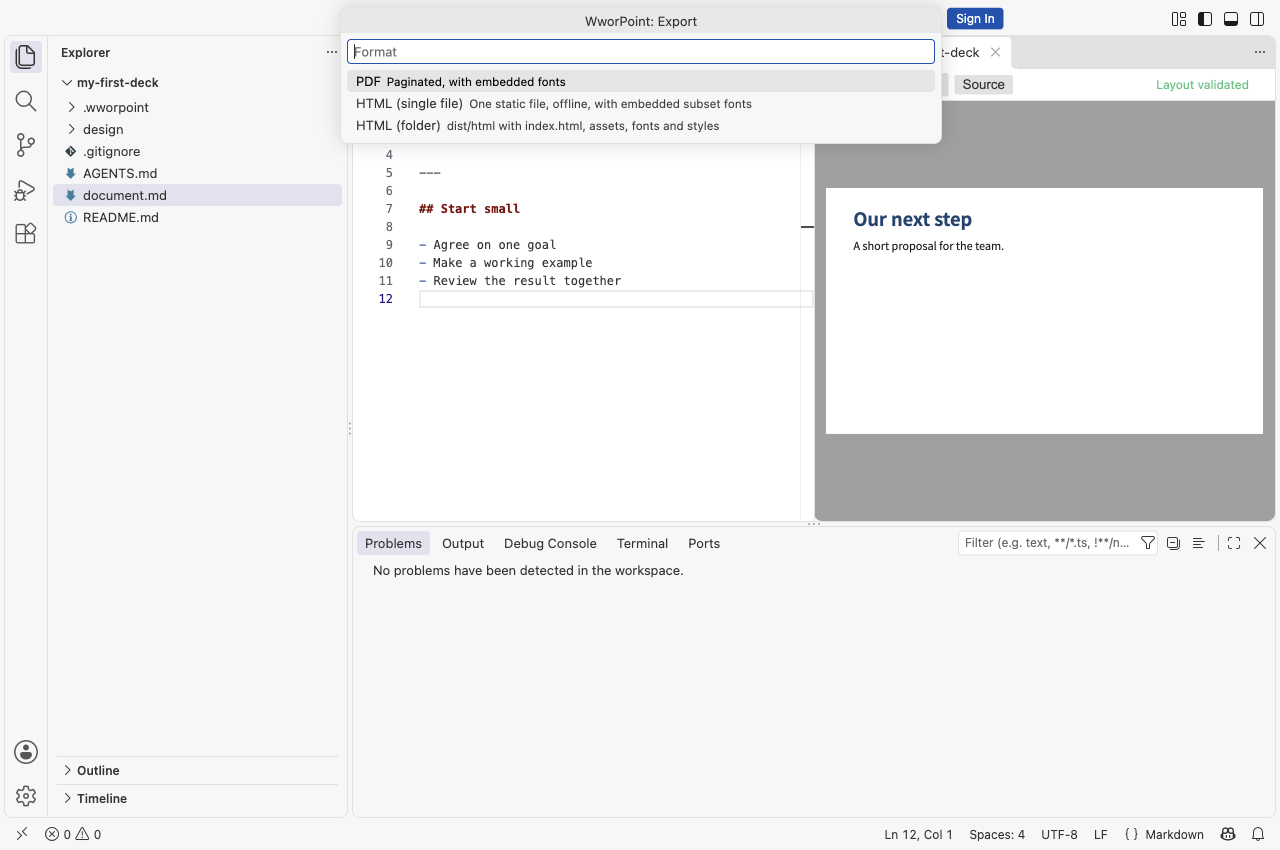
Section titled “7. Export a PDF”Run WworPoint: Export, select PDF, then press Enter. The other choices are HTML (single file) and HTML (folder). Errors block export; warnings ask whether to export anyway. Review each warning before accepting it.
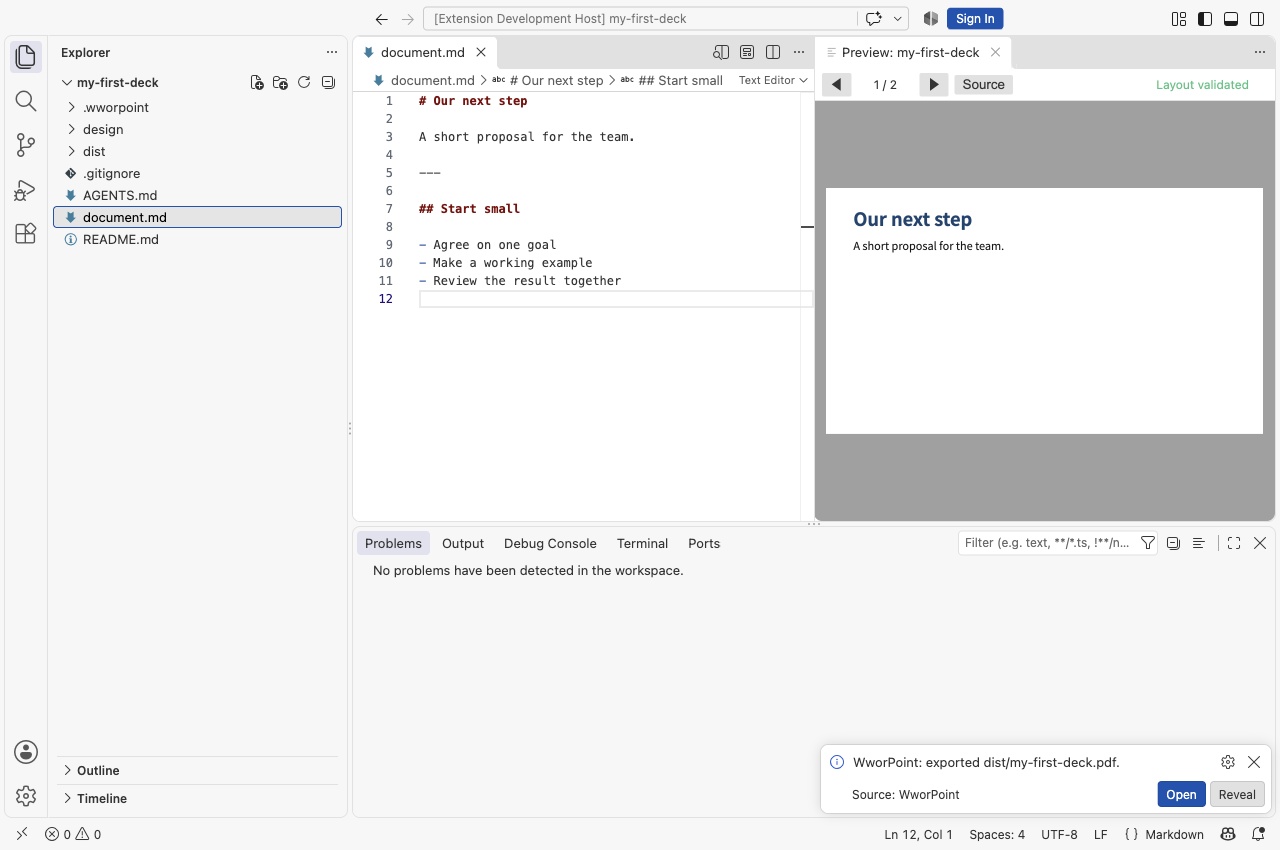
For this folder and its default settings, the PDF is dist/my-first-deck.pdf. Expand dist in the Explorer to find it. The completion message also offers Open and Reveal; Open opens the output in its associated application, and Reveal shows it in your computer’s file manager.
Check the PDF itself before sharing it. By default, single-file HTML is dist/my-first-deck.html; folder HTML starts at dist/html/index.html. Keep the whole HTML folder together when sharing that format.
Validation after later edits
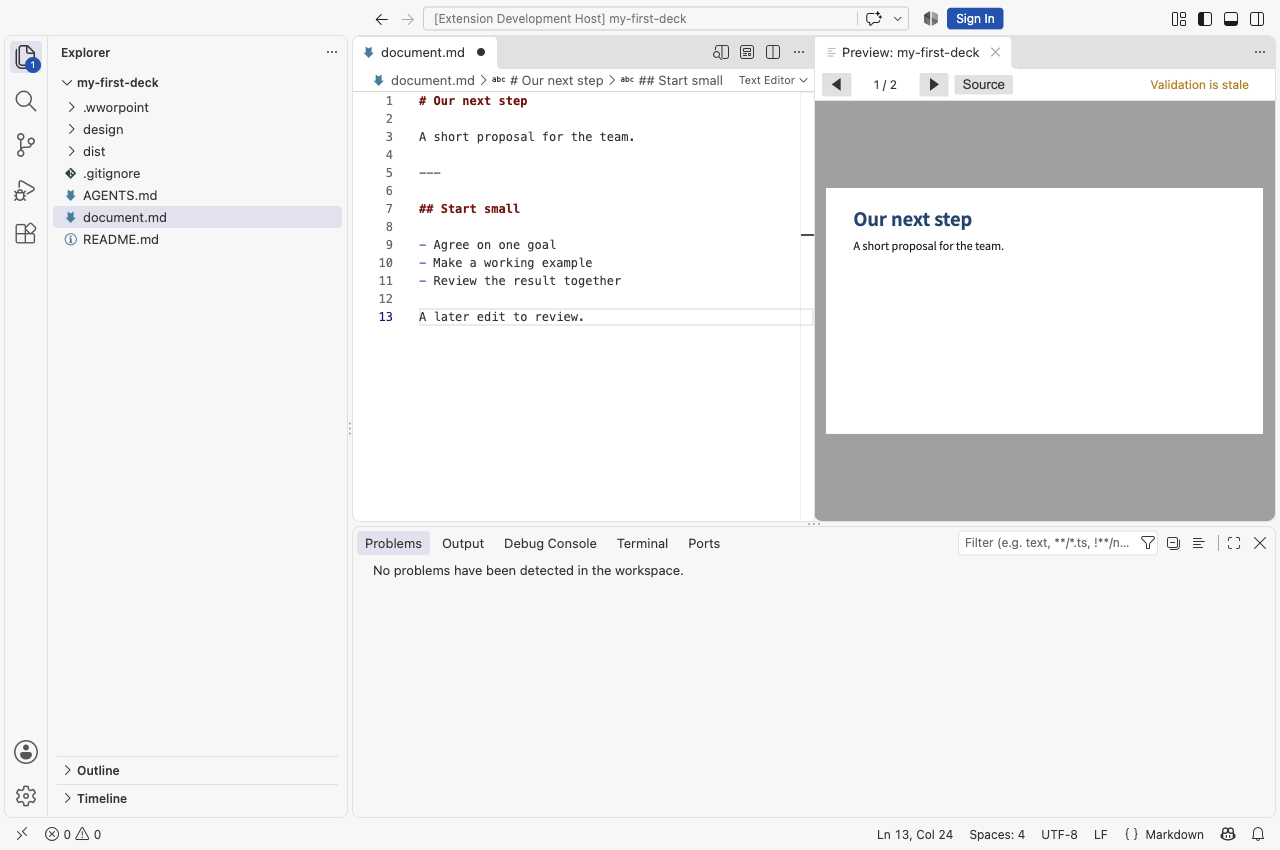
Section titled “Validation after later edits”The following is a later edit after validation and export have already run.
The extension preview follows unsaved text edits too. A changed preview may show Validation is stale: the last layout check no longer matches what you see. Layout not validated means no current layout check has been run. Seeing a preview is not proof that the saved document is ready to export.
Next: draft with your familiar AI tool
Section titled “Next: draft with your familiar AI tool”Give the generated AGENTS.md and authoring manual to your chosen external AI tool, ask it to revise the source files, then review and apply the changes yourself. WworPoint has no built-in AI model, automatic connection or AI credits. Check your provider’s fees and data-handling terms before sharing any source.
For an A4 report, create another empty folder and choose Paged document in Init. Explore the A4 example. For command-line workflows, follow the separate advanced CLI guide.
Menu and shortcut details follow the official VS Code user-interface guide. This walkthrough was checked against WworPoint 0.1.0 test build at 35090ac.